Vrbo via iCal
The following guide refers to connecting to Vrbo via an iCal link. Uplisting also connects to Vrbo in real-time via an official API connection (a much better solution) to sync bookings, rates, messages, content and more. Learn how to connect to Vrbo in real-time.
Connect to Vrbo via iCal
Syncing with Vrbo involves 2 parts. The first is to import bookings from Vrbo to Uplisting, and the second is to export unavailabilities from Uplisting to Vrbo.
Part 1: Importing bookings from Vrbo to Uplisting
The following instructions are from Vrbo and can be found on their help centre here.
On Vrbo
- Sign in to your Vrbo account.
- Select the listing if you have more than one.
- Select Calendar.
- Select Import & export.
- Select Export calendar.
- Select Copy URL.
On Uplisting
- In the calendar tab, click on the listing name you wish to sync with the Vrbo listing above to open the listing settings.
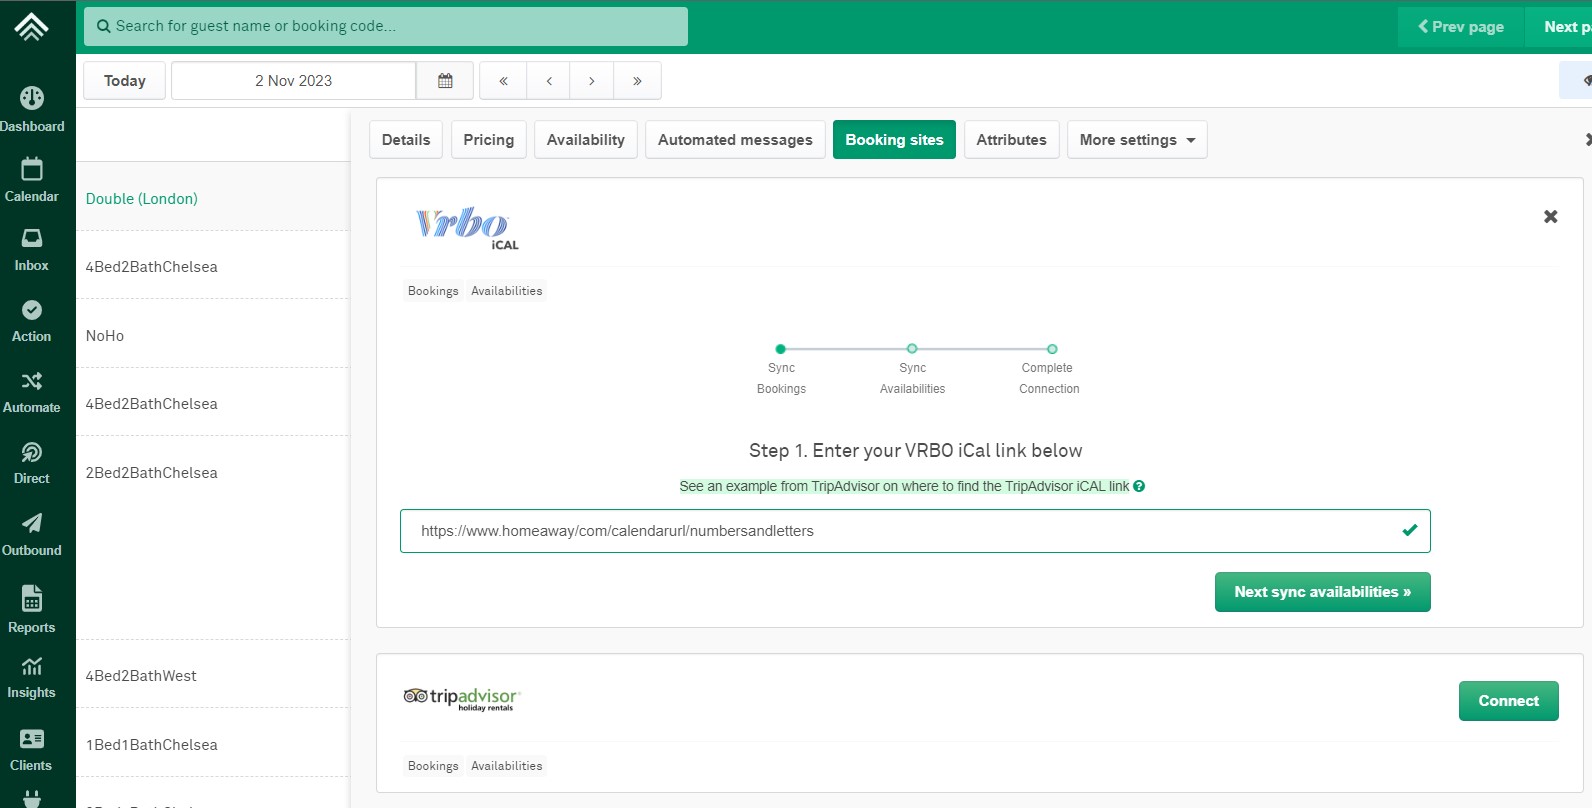
- Navigate to the 'Booking sites' tab.
- Select the 'Connect' button next to the Vrbo iCal option.
- Paste the iCal link copied from Vrbo (above).
- Click the 'Next sync availabilities' button to export your unavailabilities to Vrbo (instructions below).
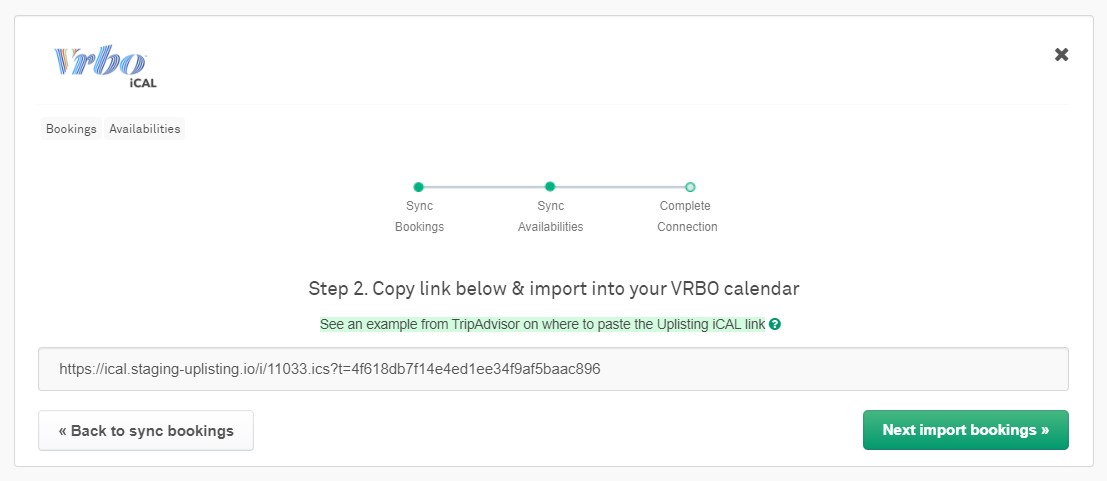
Part 2: Exporting unavailabilities from Uplisting to Vrbo
On Uplisting
- Copy the iCal link provided on Uplisting:
On Vrbo
- Sign in to your Vrbo account.
- Select the appropriate listing.
- Select Calendar.
- Select Import & export.
- Select Import a calendar to open the edit panel.
- Paste the iCal URL copied from Uplisting.
- Select whether the calendar will block availability.
- Name the calendar (e.g. 'Uplisting').
- Select a colour to represent the calendar.
- Select Import.
3. Testing the connection
After you have imported bookings and exported your unavailabilities (above), click 'Next test connection'. Wait a few minutes as Uplisting imports any Vrbo bookings. Bookings will then appear on your calendar, identified as Vrbo bookings.
Updated 6 months ago